Most of us use AutoFill data on our computers; it makes life so much easier when you need to fill in forms on a website or an app. Now you can do the same on an iPhone with the Safari browser. When you first enter the data online, you get the option of having it saved and, if you give permission, the next time you need to enter the same information, perhaps your name and address, you get the autofill option of having those details completed automatically.
How to Add your Credit Card Details to AutoFill on Safari:
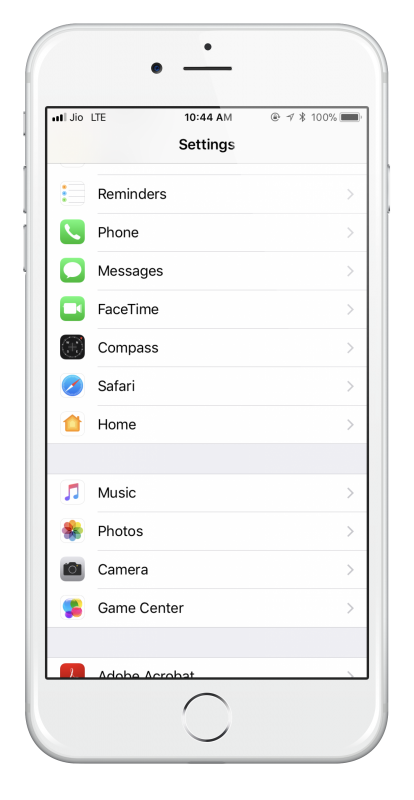
- First, open the Settings app on your iOS device
- Look through the options until you see Safari and tap on it

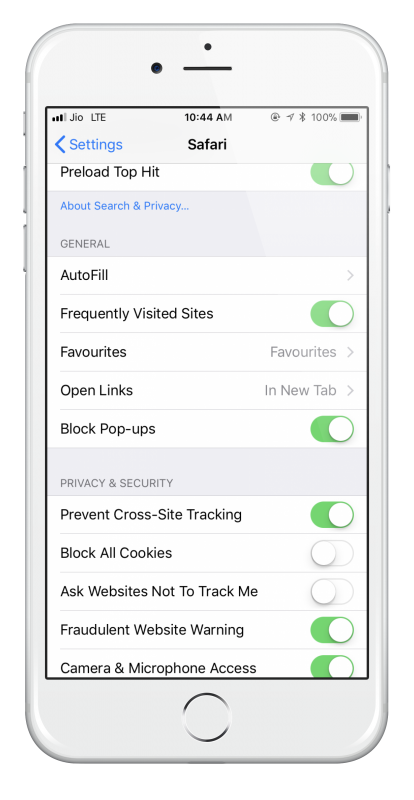
- When the Safari Settings page opens, tap on General
- Next, tap on AutoFill
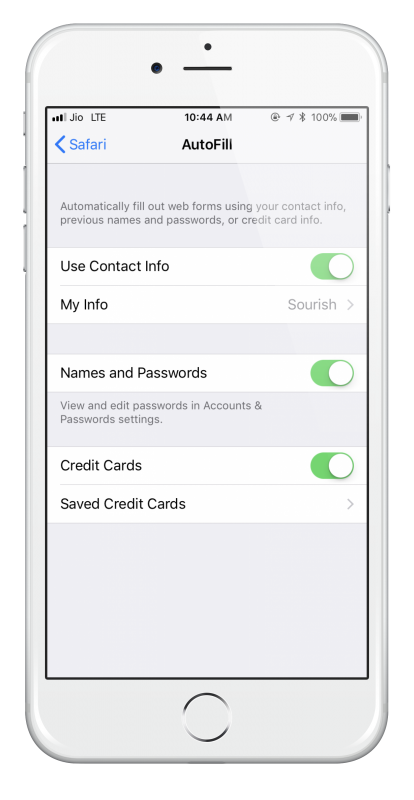
- Now you will have a series of options to choose from , go to the bottom of the page and tap on Credit Cards
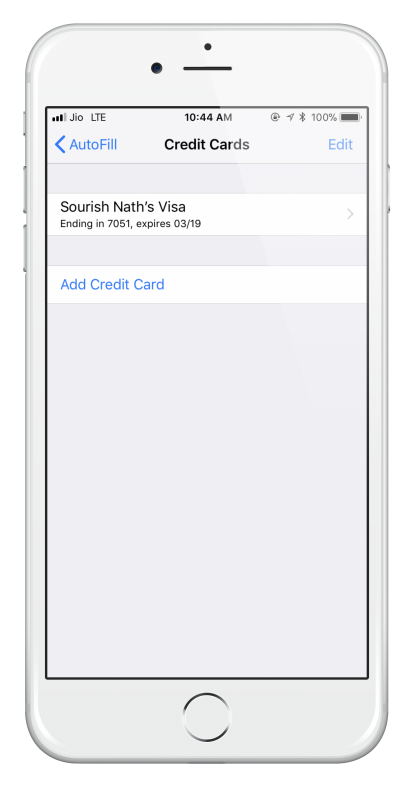
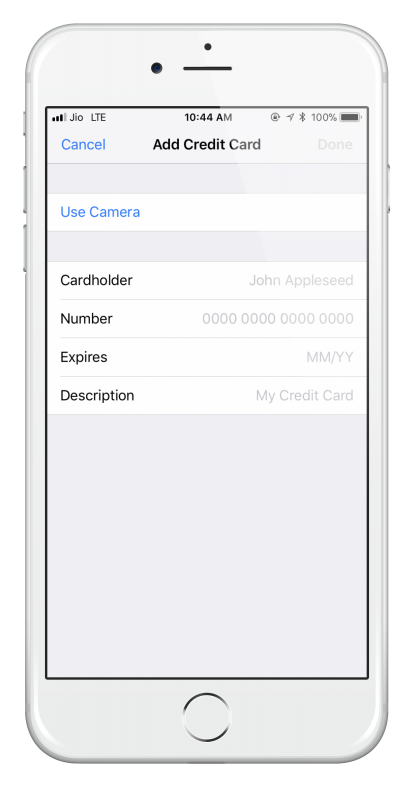
- If you already have any cards saved, you will see a list of them. If not, let’s add one , at the bottom of the page, there is an option to Add Credit Card , tap on this
- On the next screen, input your card details. Again, you have an option, input the details manually or tap on Use Camera at the top of the screen. You can use the iPhone or iPad camera to scan the card you are adding, and the information will be imported
That’s all there is to it. As soon as the data has been input or imported to Autofill and saved, those details will automatically be offered to you as an option when you are making purchases on an app or a website.
Is It Safe to Add Credit-Card Details to Safari?

Good question, and the answer is yes. When you use autofill details to make card payments on your iPhone or iPad, your identity is verified using Face ID and/or Touch ID. This way, you can be safe in the knowledge that only you can use those card details for making online payments.
Do you make a lot of online payments? Is AutoFill something you would use for your card details, or do you prefer to input them manually every time? Let us know what you think, and follow us on Facebook for more tips and tricks like this.