Regardless of which iOS version you are running, when you set up your iPhone, you will have been asked whether to let Facebook access the apps on your device.

Most people will give that permission because having Facebook integration allows loads of useful ways of posting on Facebook quickly, sharing your videos and photos, and if you want to, asking Siri to post on Facebook for you. However, when you provide Facebook with access to Calendar and Contacts, you will find that your Facebook friends are automatically synced to your Contacts, and Facebook Events get synced to your calendar.
Content Summary
How to Clean your iPhone Contacts List:
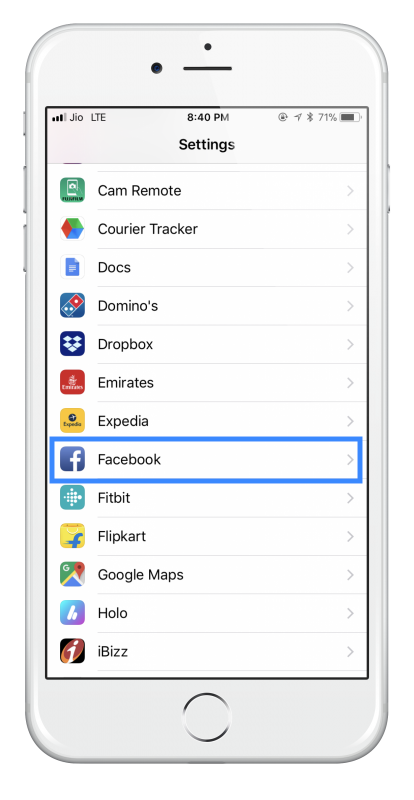
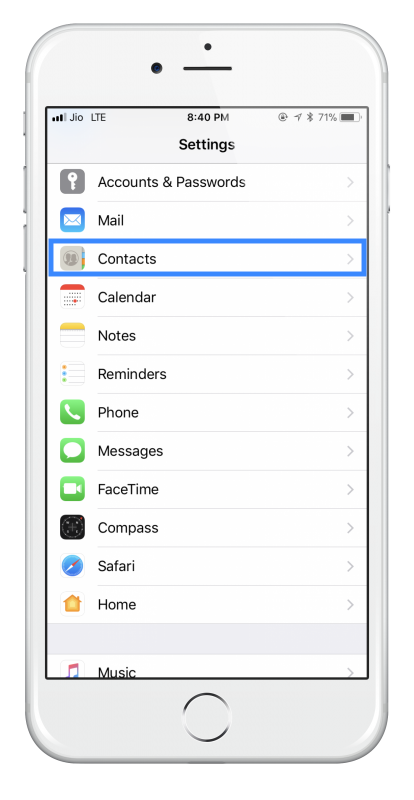
- Open Settings on your iPhone
- Go to Facebook; you will see two sliders for Contacts and Events

- Tap the Contacts slider to off and, if you want, do the same with Events
Allow a little time for the process to work. If you were to go straight to your Contacts list, you would see some strange things. You might find that some of your proper contacts have disappeared, maybe because they were part of a Friends group on Facebook. Wait a few minutes, and your contacts list will resolve itself, so it only shows the contacts you added before you synced with Facebook.
Hiding Facebook Friends from Contacts:
If you don’t want to disable Facebook from accessing your Contacts list but don’t want all those names there, you can hide Facebook friends so they don’t appear in your contacts list. Here’s how:
- On your iPhone, open your Contacts list

- In the top-left corner, you will see a button called Groups; tap on this
- Uncheck the box beside Facebook Friends to disable it
- Tap on Done, and your Facebook friends will be hidden from your Contacts list.
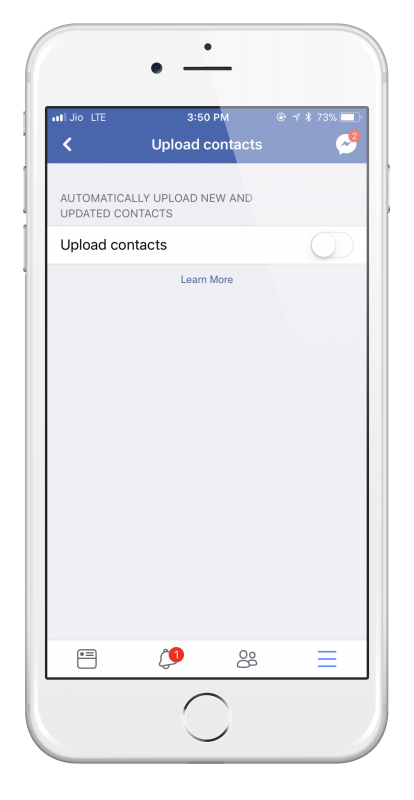
How to Remove Contacts From Facebook Servers:
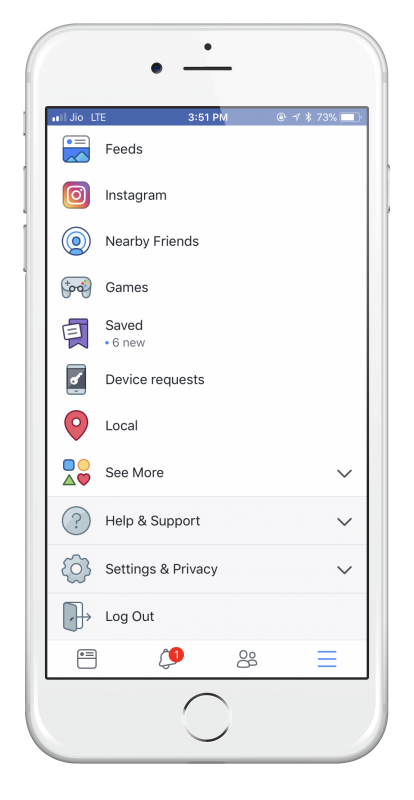
- On your iPhone or iPad, open the Facebook app, Tap the Menu button
- Tap on Settings and Privacy
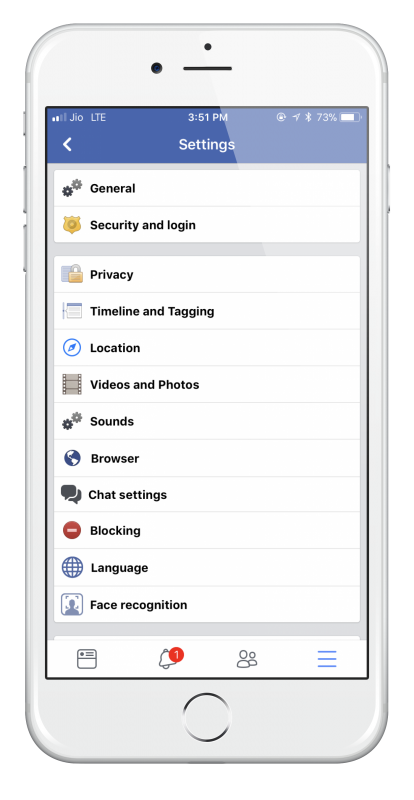
- Tap on Account Settings > Tap on General
- Tap on Upload Contacts and switch it to Off


- That should now stop Facebook from continuously uploading your contacts onto their servers
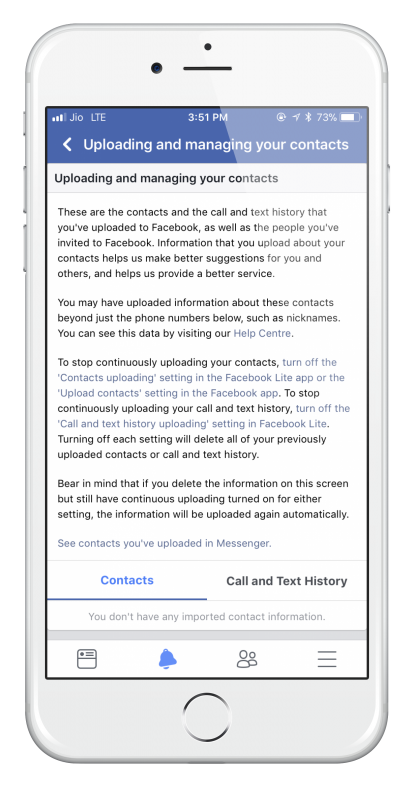
But what do you do about the information they already have stored? That’s simple; we just remove it. Here’s how.
How to Remove Contacts Already Uploaded:
- First, follow the appropriate steps above for your device
- Now open your web browser on your device
- Go to the Facebook Contact Management page
- You will see a list of all the phone contacts that have been uploaded; click on Delete All
- You will be asked to confirm this, with a message warning you that if you still have Continuous Updating enabled, the contacts will simply be uploaded again. Click on Delete
This does not delete the names; it merely hides them, so they cannot be seen, returning your Contacts list back to normal but with the option to show those Friends again at any time in the future.